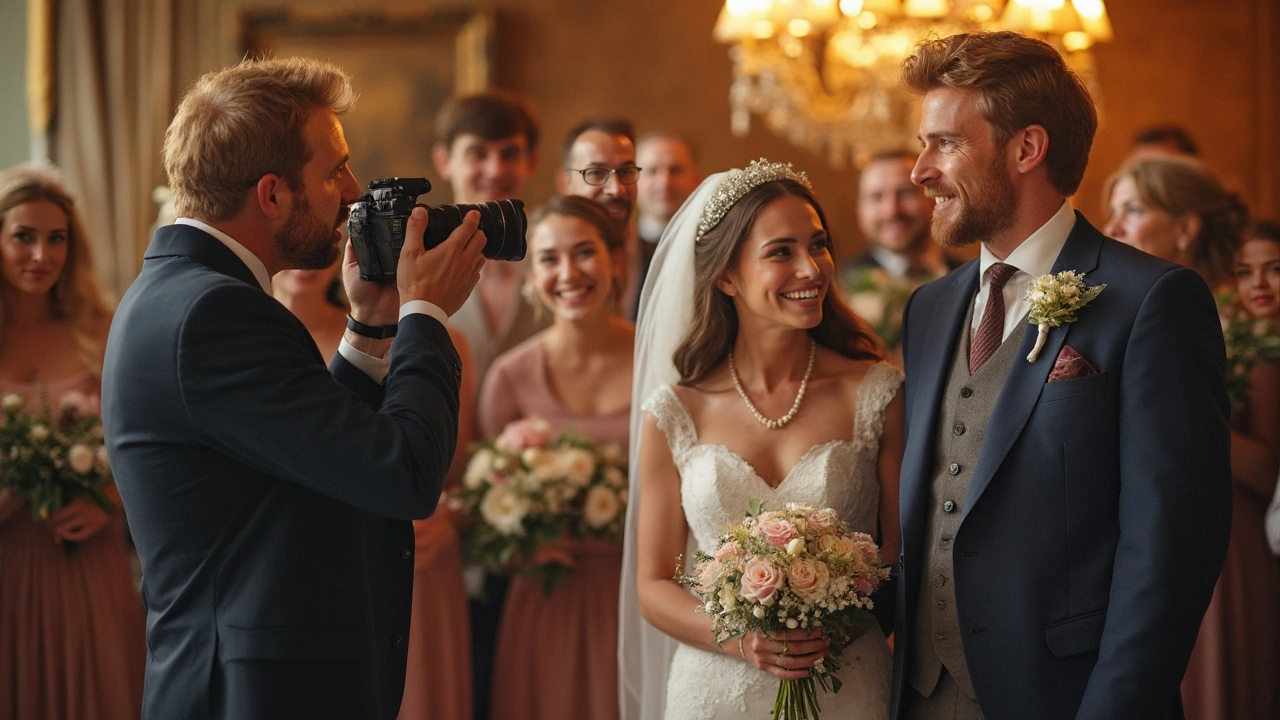
Ever taken a photo at a wedding and noticed one of the guests ended up looking like a vampire with just one bright red eye? It's weird but happens more often than you think. This little phenomenon, often seen in low-light situations, can pop up at a lovely evening reception or when you're snapping a group shot with flash. The science is pretty simple: It comes down to the light bouncing off the back of the eye, particularly the blood-rich retina, straight back to the lens.
One-eye red eye can be a bit unsettling in a shot meant to capture joy and laughter. So, what gives? It's often the angle or the direct gaze into the camera that's at play. For wedding photographers aiming for that perfect album, understanding this hiccup can make all the difference. Nobody wants to spend hours editing, so how about sidestepping the issue in the first place?
- The Science Behind Red Eye
- Why It's Common in Wedding Photos
- Preventing Red Eye During Shoots
- Camera Settings Tricks
- Editing Out Red Eye
- Choosing the Right Equipment
The Science Behind Red Eye
You know that creepy red eye look in photos? It's all about how light behaves. When you snap a picture using a camera flash, especially in dim lighting, the flash is so quick and close to the camera lens that it reflects off the back of the eye. And what's back there? The retina, which is rich in blood vessels. That's why it looks red.
This becomes super noticeable in settings like weddings, where the lighting isn't always perfect, and folks are often looking directly at the camera. The closer someone is to the flash, the brighter and more pronounced the red eye can be. It’s like having a tiny mirror reflecting the light right back at you.
Most of the time, both eyes catch the flash equally. But, if one eye hits the angle just right—or wrong depending on how you look at it—it might end up more red than the other. Wild, right?
To further understand why cameras catch this weirdness, here’s a quick breakdown:
- The pupils stay wide open to let in more light, especially in darker settings, like a wedding evening event.
- A sudden flash doesn’t give the pupils enough time to contract, so more light gets in and reflects off that reddish retina.
Why is this important for wedding photographers? Well, knowing what causes red eye in photos helps you avoid it. Next time, move that flash or have your subject look slightly away. Not looking directly can tone down the red and save you editing time later.
Why It's Common in Wedding Photos
So, you're at a wedding, trying to capture that perfect moment, but why do you often end up with red eye in photos? Weddings are typically filled with low-light situations like dimly lit reception venues or romantic candlelit tables. These lighting conditions are prime culprits for red eye, especially when you're using a flash to compensate.
During a wedding, folks often look directly at the camera with their faces lit up by your flash, leading to that pesky red eye effect. But here's the kicker—this problem isn't just a nighttime issue. Even in daylight settings, strong indoor lighting conditions can cause it if the flash reflects directly back into your lens.
Wedding photography also involves a lot of spontaneous shots in assorted lighting conditions. From churches to outdoor tents, each environment plays its part. Photographers don't always have time to tweak settings between shots, and using the flash in auto mode can increase red eye chances simply because it illuminates people right where they're looking—adding to the problem.
Moreover, happy couples often invite big groups for important shots, such as family portraits. The more eyes gazing into the camera, the higher the chance at least one will reflect back with that infamous red hue. Typically, how close someone is to the flash affects the commonness of red eye too. So, if you're snapping tightly-packed groups, you might notice more occurrences.
And though the wedding day whizzes by, post-wedding editing adds another layer of stress if red eye's rampant. Knowing this, photographers often try to use various tricks to tackle the issue on the spot, like adjusting their camera settings or repositioning the flash. But when time’s tight, shooting a couple backup frames can be a lifesaver for later edits.
Preventing Red Eye During Shoots
Getting rid of red eye in photos during a wedding shoot isn’t some magical trick; it’s all about smart planning and execution. Here are some real, no-nonsense tips to keep that spooky glow from making an appearance in your shots.
The easiest method? Adjust your camera’s flash settings. Try to use the red-eye reduction feature if it's available. It works by emitting a pre-flash that makes the subject's pupils contract before the actual flash goes off. That way, there's less chance for the flash to reflect off the back of their eyes.
Next up, think about the angle. Since wedding photography often means shooting in various lighting setups, keep a close eye on where people are looking. Try to avoid direct eye contact with the camera when using flash. Ask your subjects to slightly look away from the lens. This simple shift can majorly cut down the chances of red eye.
When you're shooting indoors, see if you can bounce the flash. Angling the flash to hit a wall or ceiling instead of pointing it straight at the subject softens the light and really helps in avoiding red eye. Plus, it’s a great way to get some natural-looking photos!
Don’t forget that sometimes, the environment needs a tweak, too. Changing up the ambient lighting can reduce reliance on artificial light. Use any available natural light or apply softer lighting techniques to keep things easy on the eyes.
- Activate red-eye reduction function.
- Ask subjects to look slightly away from the camera.
- Bounce the flash off walls or ceilings.
- Enhance ambient light to reduce flash usage.
By planning ahead and keeping these easy fixes in mind, you’ll spend less time editing and more time celebrating those incredible shots.
Camera Settings Tricks
Getting rid of red eye before it even makes its ghostly presence in your wedding shots isn't magical—it’s all about getting cozy with your camera settings. Here’s how you can outsmart camera flash issues and make sure your photos don’t feature anyone rocking what looks like an accidental Halloween costume.
First up, explore your camera’s red-eye reduction mode. This setting is a lifesaver and works by firing a series of quick bursts of light before the actual photo is taken. This makes the subject’s pupils constrict, reducing the amount of light reflecting off the retina.
Lighting is everything. Natural light beats flash ten to one. When possible, use continuous lighting that doesn’t throw that stark, direct beam right into people’s faces. If flash is unavoidable, try redirecting it. Angling the flash slightly upwards or using a bounce can work wonders.
How about diving into camera settings? Here are some tricks:
- ISO settings: Increase your ISO to make the camera sensor more sensitive to light, so you can manage with less flash. Start with a moderate number like 400 or 800 in dim settings.
- Aperture control: Open up your lens by using a smaller f-stop number. This lets in more light, reducing your dependency on flash.
- Shutter speed: Slowing down your shutter speed can let in more light. But watch out—too slow, and subjects might blur.
Enable autofocus aids, if your camera allows. Some cameras have a built-in feature to briefly light up the subject without using flash, helping both to focus well and avoid that dreaded red eye.
An overlooked-but-simple fix? Have the person slightly look away from the camera. Just a small shift in their gaze can stop red eye from happening as light doesn’t hit the retina head-on.
With these tricks, you can aim for that perfect, blink-free capture without spending half your time editing out small surprises for your clients.
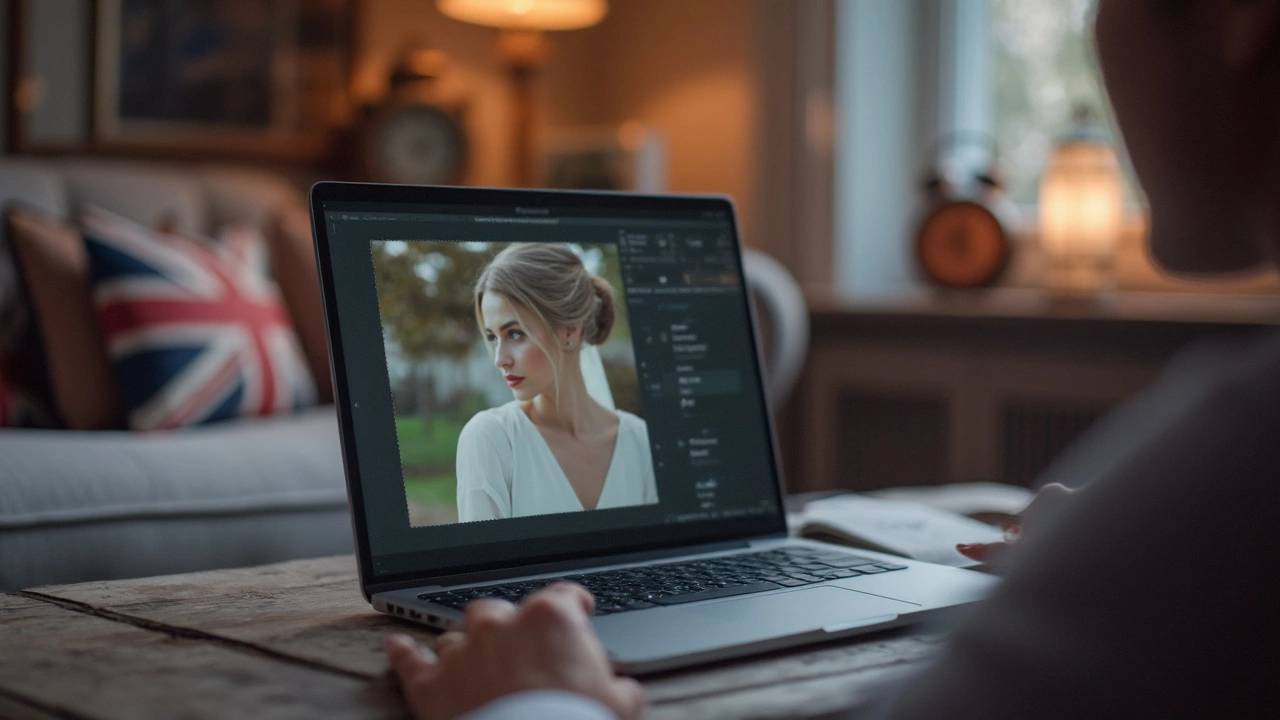
Editing Out Red Eye
Okay, let's talk about the part everyone dreads but also secretly loves—editing. When that pesky red eye in photos sneaks into your wedding shots, don't stress. You can zap it right out, and it's easier than you might think!
First, let's dive into the tools of the trade. Most popular photo editing software has a dedicated 'red eye removal' tool. Whether you're rocking Adobe Photoshop, Lightroom, or even using free apps like GIMP, this feature is pretty standard and super handy. It works by detecting the unnatural red color in the eyes and then replacing it with a more natural shade.
Here's how you do it step-by-step in Photoshop:
- Open the image and head to the toolbox. Select the 'Red Eye Tool'. It's hidden under the 'Spot Healing Brush' tool in your menu.
- Click directly on the red eye, and bam! Photoshop automatically corrects it for you.
- If you need to fine-tune, adjust the 'Pupil Size' or 'Darken Amount' in the options bar to match the rest of the photos.
The process is quite similar in Lightroom. Just use the red-eye correction tool, drag it over the affected area, and you've got a fix in seconds!
And let's say you've got a batch of photos with this issue. Batch processing tools can save a ton of time, allowing you to apply the same corrections to multiple images with just a few clicks. It's a lifesaver, especially during busy wedding seasons.
If you're more of an app person, there are quite a few mobile solutions too. Apps like Facetune or Snapseed can quickly handle red eye on the go, which is perfect when you need to fix things before sharing on social media.
A quick side note: Always remember to zoom in and check your work. You want those eyes to look as strikingly real as the moment you captured them.
Choosing the Right Equipment
Alright, let's chat about gear. The right tools can make red eye in photos less of a headache, especially during wedding shoots. Your camera settings and additional equipment play huge roles here, so let's dive in.
The first step is thinking about the camera itself. DSLR cameras or mirrorless ones come with tons of options for adjusting flash and other settings. If your camera flash is too close to the lens, you're just inviting red eye. Consider cameras that have the flash mounted away from the lens or, even better, ones that allow you to use an external flash.
Speaking of flashes, a good external flash is your best buddy. Position it to bounce off a surface rather than flashing directly. By bouncing the light, you reduce the harshness and, voilà, minimize the chances of red eye issues. Look for flashes with tilt-and-swivel heads, providing more flexibility in angling your light and getting that soft, diffused look.
Lens choice can also matter more than you'd guess. A fast lens (one with a large aperture, like f/2.8 or lower) lets in more light, often eliminating the need for a flash in the first place. This way, you’re capturing those intimate wedding moments without interference.
Lastly, consider using a red eye reduction mode if your camera has one. This mode uses a pre-flash to make pupils contract, reducing the chance of pupils reflecting red light.
- Choose a camera that supports external flash for flexibility.
- Use an external flash to bounce light.
- Opt for fast lenses to potentially skip the flash.
- Employ red eye reduction modes.
Remember, investing in the right equipment not only saves you time in editing but also ensures your clients receive beautiful, natural photos. That's something every wedding photographer can get behind.