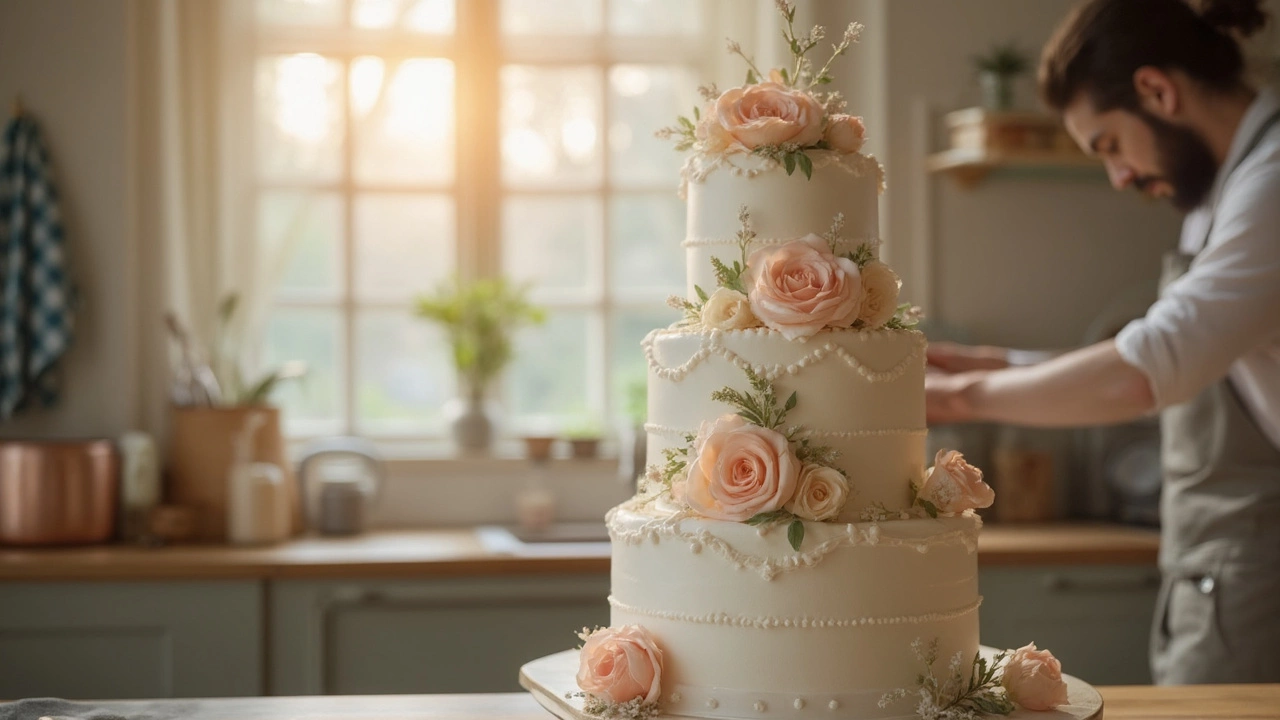
Cake Assembly Made Easy for Your Bristol Wedding
Putting together a wedding cake can feel like a mountain, but it doesn't have to be. With the right plan, a few tools, and a calm mindset, you can stack, level, and finish your cake without a panic attack. Below are hands‑on steps that work for any size cake, from a modest two‑tier to a grand five‑tier masterpiece.
Step‑by‑Step Tier Stacking
Start with a clean, flat surface – a sturdy kitchen table covered with a silicone mat works best. Place a cake board or a thick, circular cardboard sheet under the bottom tier; this gives the cake a solid base and prevents wobbling.
Level each baked layer before you stack. A simple cake leveler or a long serrated knife will do. Trim off any domes so every tier sits flat. If you’re using pre‑made cake plates, skip the trimming and move straight to assembling.
Apply a thin layer of crumb‑coat (also called a butter‑crumb) to the bottom of the next tier. Use an offset spatula to spread it evenly, then set the tier on the board. The crumb‑coat acts like glue, keeping the tiers from sliding.
Repeat the process for each subsequent tier, always checking that the stack stays vertical. A level tool or a long ruler placed against the side of the cake will tell you if you’re leaning. If you notice a tilt, add a bit more crumb‑coat or a small piece of cardboard under the offending tier.
When all tiers are stacked, chill the cake for 20‑30 minutes. The cold firm up the buttercream, making the next steps smoother.
Transport and Preservation
Moving a multi‑tier cake is where many couples get nervous. The trick is to keep the cake stable and cool. Place the assembled cake on a sturdy cake board that fits inside a cake carrier or a large pizza box. If the box is too big, line the bottom with a non‑slip mat.
Wrap the cake with a clean plastic sheet or cling film, then cover it with a cardboard box that matches the cake’s height. This protects the frosting from bumps and keeps moisture out.
For long distances, consider a small cooler bag under the cake box. A few ice packs can keep the frosting from melting, especially in warm Bristol summer weather.
When you arrive at the venue, place the cake on a level table away from direct sunlight. Give it another short chill before the cutting ceremony – a 10‑minute blast in a fridge does the trick.
Finally, don’t forget the small details: a clean knife for each slice, a cake stand for the first look, and a spare set of candles if you’re lighting the tiers. With these practical moves, you’ll feel confident that your cake will look as good as it tastes.
Need more inspiration? Check out our article on Traditional Wedding Cakes: History, Flavors, and Modern Twists for classic design ideas that work beautifully with the assembly steps above. Happy baking and enjoy your special day!
Can I Stack a Wedding Cake the Night Before? Practical Tips and Risks
Thinking about stacking your wedding cake the night before? This article breaks down whether it's safe or risky, reveals what the pros actually do, and walks you through how to keep your cake sturdy and fresh for the big day. We talk about filling types, storage, and weather. You'll get real advice, not just theory. If you're a baker or a DIY bride, these tips can save your cake—and your nerves.
View More